
Setup guide · Render
Sustainability report analysis with AI on Render
Deploy Open Sustainability Analyst on Render for sustainability report analysis with AI — built-in ESRS and TCFD frameworks, your OpenAI key, step-by-step screenshots. Streamlit guide · Customize ESRS frameworks
Part 1
Deploy sustainability report analysis with AI on Render
One-click deploy — Render runs your private copy in the cloud.
Open the one-click deploy link to begin:
Or copy this link: https://render.com/deploy?repo=https://github.com/climateandtech/report-analyst
-
Sign in to Render and open the deploy link
Click Deploy to Render below. Create a free Render account if needed — no credit card. Sign in with GitHub, Google, or email.

Sign in to Render — or create a free account. -
Review the blueprint and deploy
Render reads the blueprint from the Open Sustainability Analyst repo. Name your deployment, keep branch main, click Deploy Blueprint.
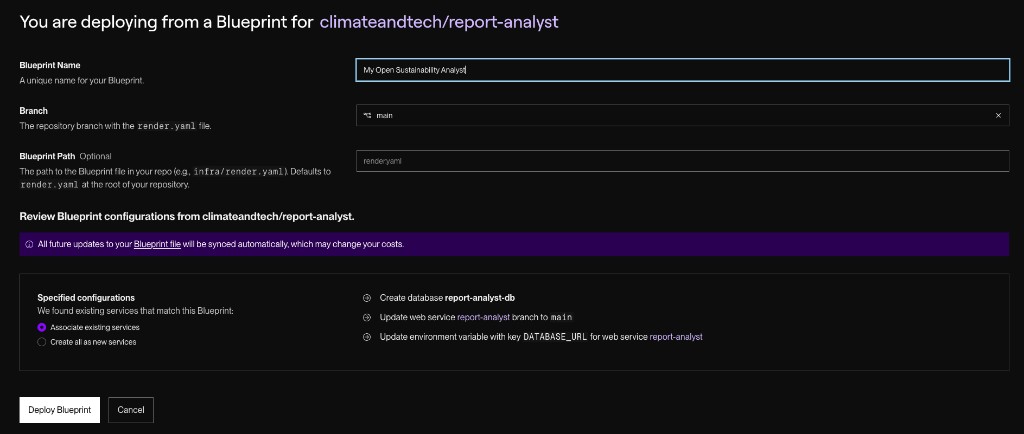
Name your blueprint, keep branch “main”, and click Deploy Blueprint. -
Wait while Render creates everything
Render builds the app, database, and web service — usually a few minutes. Watch progress under Syncs; green checks mean it is done.
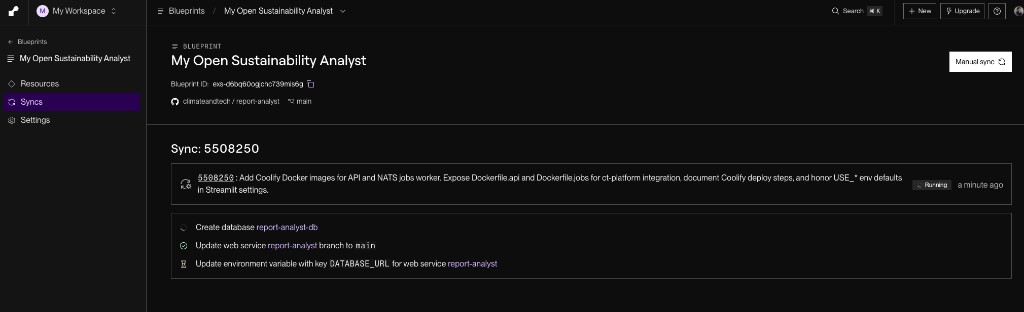
The blueprint sync runs — creating the database and web service. 
Green checks mean the resources were created successfully. -
Open your new app
On your report-analyst service page, open the public .onrender.com URL. On the free plan the service may take a few seconds to wake up on first visit.
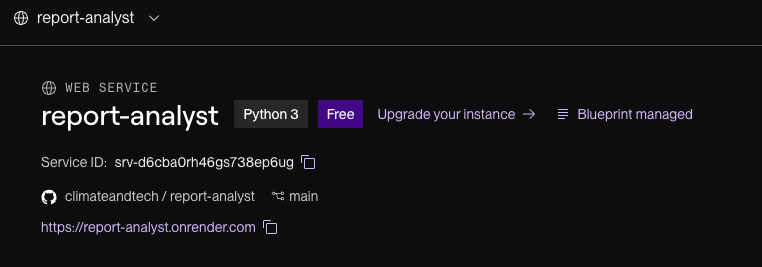
Find your app’s address at the top of the service page (yours will differ from this example). 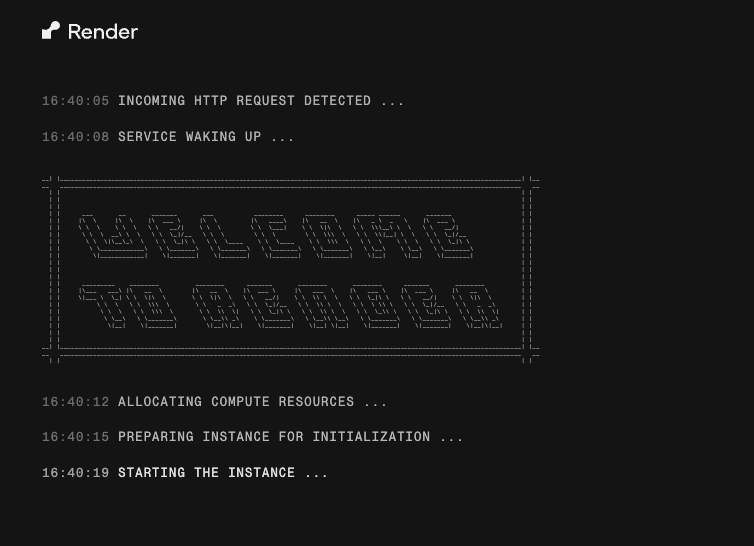
On first visit the service wakes up and starts. -
Expect an “API key” message on the first run
Without an OpenAI key yet, the app shows “No valid API keys found.” That is normal — add your key in Part 2.
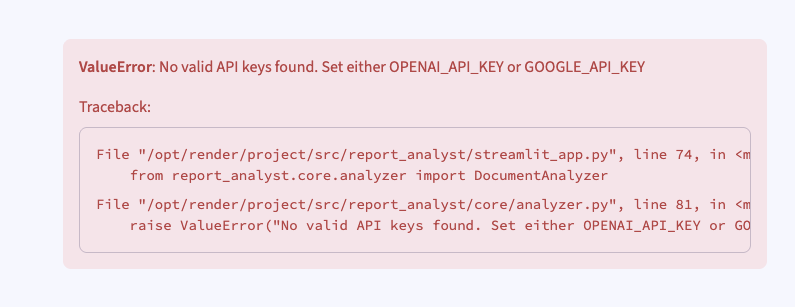
Seeing this? Good — it just means the app is running and needs your key.
Part 2
Get your OpenAI API key and add it to the app
Add your own OpenAI key — usage is billed to your account.
A. Create your OpenAI API key
-
Create an OpenAI API key
Sign in at platform.openai.com/api-keys (separate from ChatGPT). Click Create API key, name it (e.g. Open Sustainability Analyst), then Create secret key.
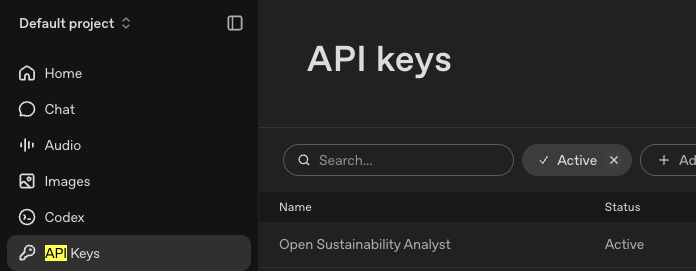
Open the API keys page from the left-hand menu. 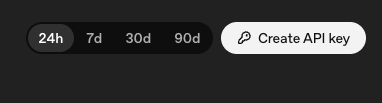
Click “Create API key”. 
Name the key, then click “Create secret key”. -
Copy the key right away
Copy the
sk-…key immediately — OpenAI shows it only once.Treat it like a password. Never share it or commit it to a public repository.
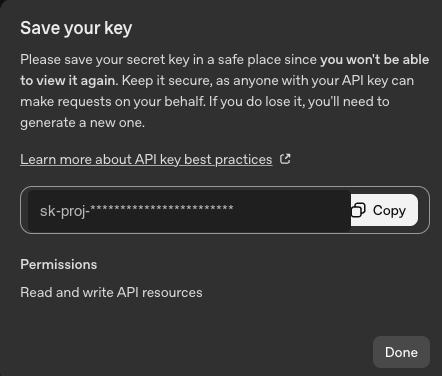
Use “Copy”, then store the key safely — you cannot view it again. -
Enable billing
API usage is billed separately from ChatGPT. Add a payment method or credits under Settings → Billing.
B. Add the key to your app on Render
-
Open Environment on Render
In your report-analyst service, go to Manage → Environment.
Manage → Environment. -
Paste your OpenAI key
Find the empty
OPENAI_API_KEYrow and paste yoursk-…key — no extra spaces.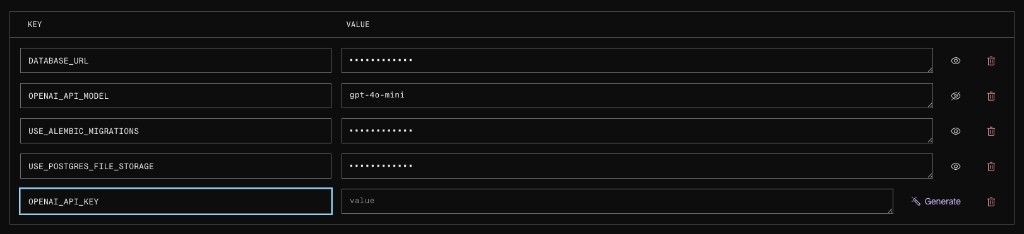
The OPENAI_API_KEY row is empty — that is the one to fill in. 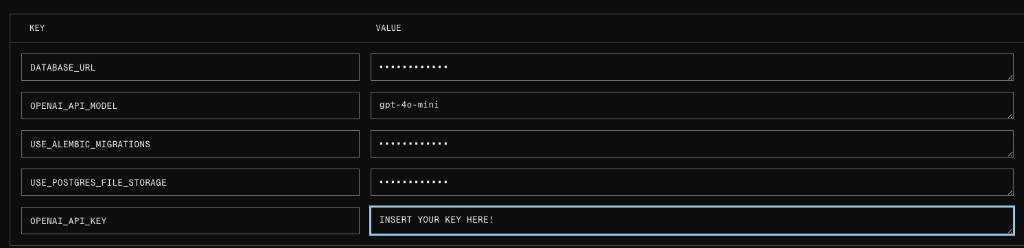
Paste your secret key into the OPENAI_API_KEY value field. -
Save, rebuild, and deploy
Click Save, rebuild, and deploy. When it finishes, reload your .onrender.com URL and start analysing sustainability reports with ESRS and TCFD frameworks.

Save, rebuild, and deploy — then reload your app.
Troubleshooting
I still see “No valid API keys found”
Open Environment again and confirm OPENAI_API_KEY has your key (no spaces), that you clicked Save, and that the service finished redeploying before you refreshed the app.
I get an authentication or 401 error
The key may be revoked, mistyped, or billing is not active. Create a fresh key on the OpenAI platform and make sure you have credits under Settings → Billing.
The app is slow to open
On Render’s free plan the service goes to sleep when idle and takes around 30 seconds to wake up on the next visit. This is normal.
Need a hand?
Need guided help or a managed setup? Use Setup or contact us.